
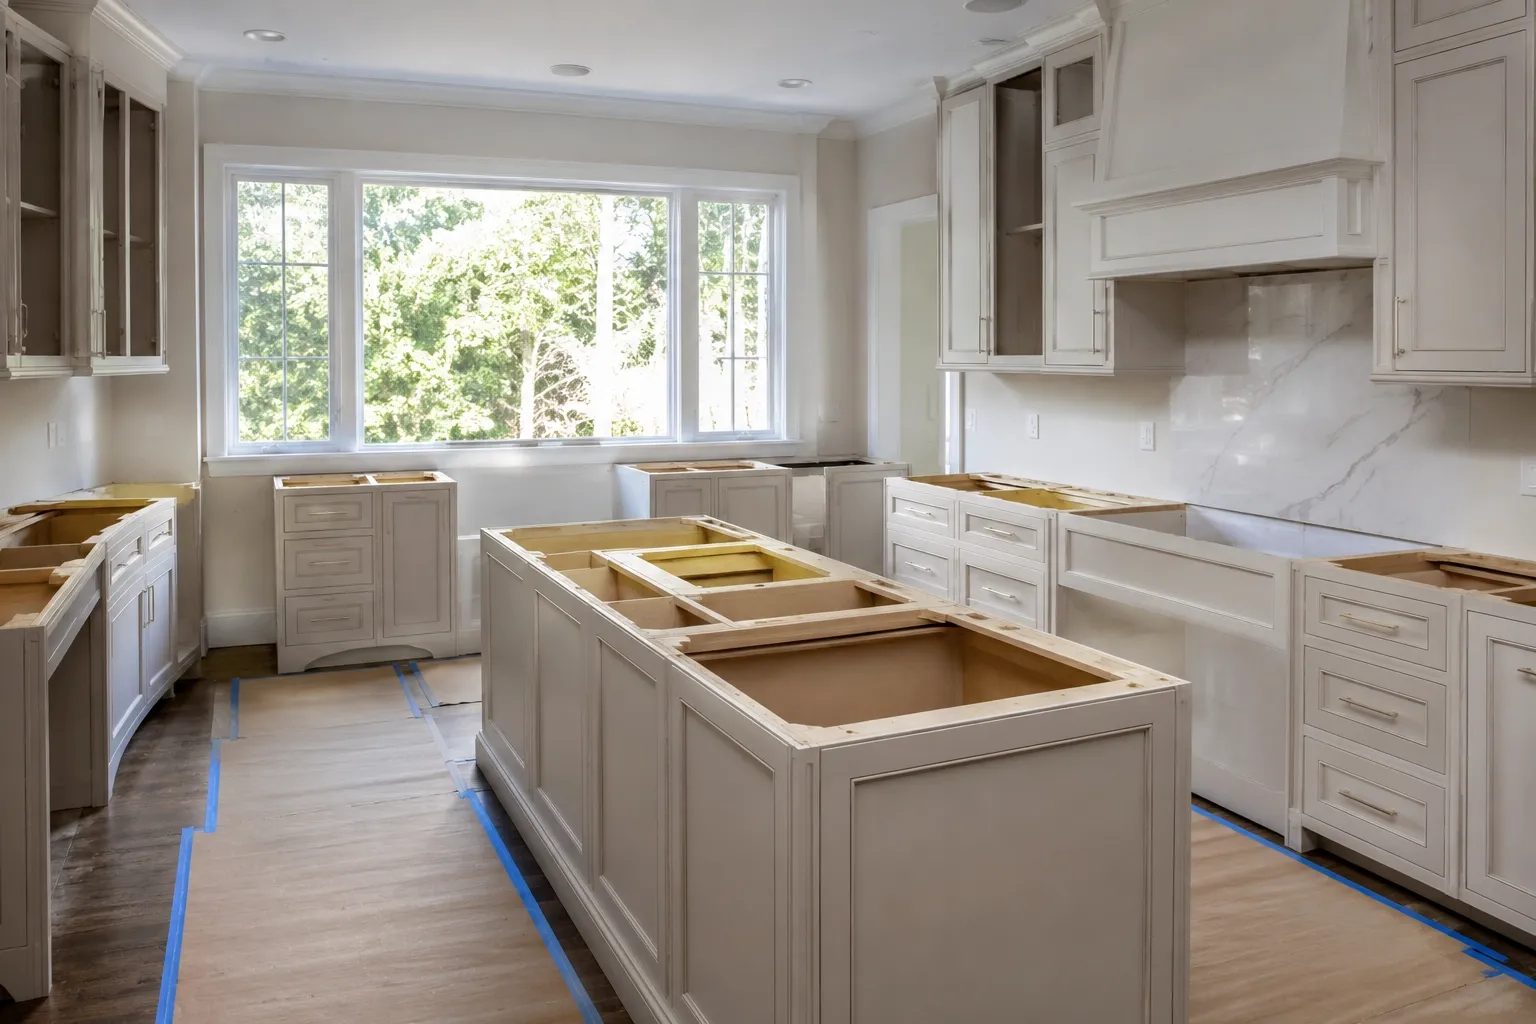
How to Prepare Your Kitchen for a Countertop Installation
Preparing your kitchen for countertop installation starts with clearing the workspace, protecting nearby surfaces, and ensuring your installer has easy access to the work area. Taking these simple steps before installation day helps the project move efficiently, reduces the risk of damage, and creates a safer environment for everyone involved.
Whether you're installing granite, quartz, quartzite, marble, or another premium surface, proper preparation makes the entire process less stressful.
This guide explains what to do before countertop installation, what to expect during installation day, and how to prepare your kitchen so your new countertops can be installed smoothly and professionally.
Why Proper Preparation Matters Before Countertop Installation
A new countertop is one of the most valuable upgrades you can make to your kitchen. However, even the highest-quality materials depend on careful preparation to ensure a successful installation.
Preparing your kitchen for countertop installation allows installers to work safely and efficiently while helping prevent delays caused by blocked access, disconnected utilities, or overlooked details. It also protects nearby cabinets, flooring, and personal belongings throughout the project.
Proper countertop installation preparation can help you:
- Create a safe workspace for installers.
- Prevent unnecessary installation delays.
- Protect nearby furniture and flooring.
- Simplify plumbing and appliance reconnections.
- Ensure the finished countertops fit as intended.
If your project includes selecting a new surface, considering the overall design of your kitchen applications can help you choose a countertop that complements your cabinets, flooring, and backsplash while supporting the way you use your space every day.
What to Do Before Installation Day
Preparing your kitchen before installation day allows the installation team to begin work immediately without unnecessary interruptions.
Confirm Measurements and Final Design Details
Before fabrication begins, your installer will verify the final measurements and review important design details. This includes sink cutouts, faucet locations, cooktop openings, overhangs, seam placement, backsplash dimensions, and countertop edge profiles.
Take time to review every detail before approving fabrication. Once your countertop has been cut, making changes becomes significantly more difficult.
Selecting the right countertop edge profiles is also part of the final design process. The edge you choose influences both the appearance of your kitchen and the comfort of everyday use.
Remove Items From Countertops and Cabinets
One of the easiest ways to prepare for countertop installation is to completely clear the work area before the installers arrive.
Remove everything from the countertops, including:
- Small appliances
- Coffee makers
- Toasters
- Decorative items
- Knife blocks
- Dish racks
- Food storage containers
You should also empty the cabinets beneath the sink and any surrounding base cabinets where installers will be working. Vibrations from removing existing countertops may shift stored items, while plumbing work could temporarily expose these areas to dust or moisture.
Organizing frequently used kitchen essentials into temporary storage bins can also make meal preparation easier while your kitchen is unavailable.
Clear a Safe Path for the Installation Team
Countertop slabs are extremely heavy and require multiple installers to move safely into your home.
Before installation day, remove anything that could create an obstacle, including rugs, chairs, small tables, or decorative pieces near the kitchen entrance. Hallways and doorways should remain clear so installers can safely maneuver large slabs without damaging surrounding walls or furniture.
If you have children or pets, consider keeping them away from the work area until installation is complete.
Protect Floors, Walls, and Nearby Furniture
Although professional installers take precautions to protect your home, preparing the surrounding space provides additional peace of mind.
Cover hardwood floors or delicate surfaces if they are located along the installation path. Nearby furniture and decorative items can also be moved or covered to prevent dust accumulation during the removal of old countertops.
If you're replacing your backsplash as part of the renovation, planning both surfaces together often creates a more cohesive finished kitchen. Coordinating countertops with the right backsplash stone also helps achieve a balanced design that complements the overall space.
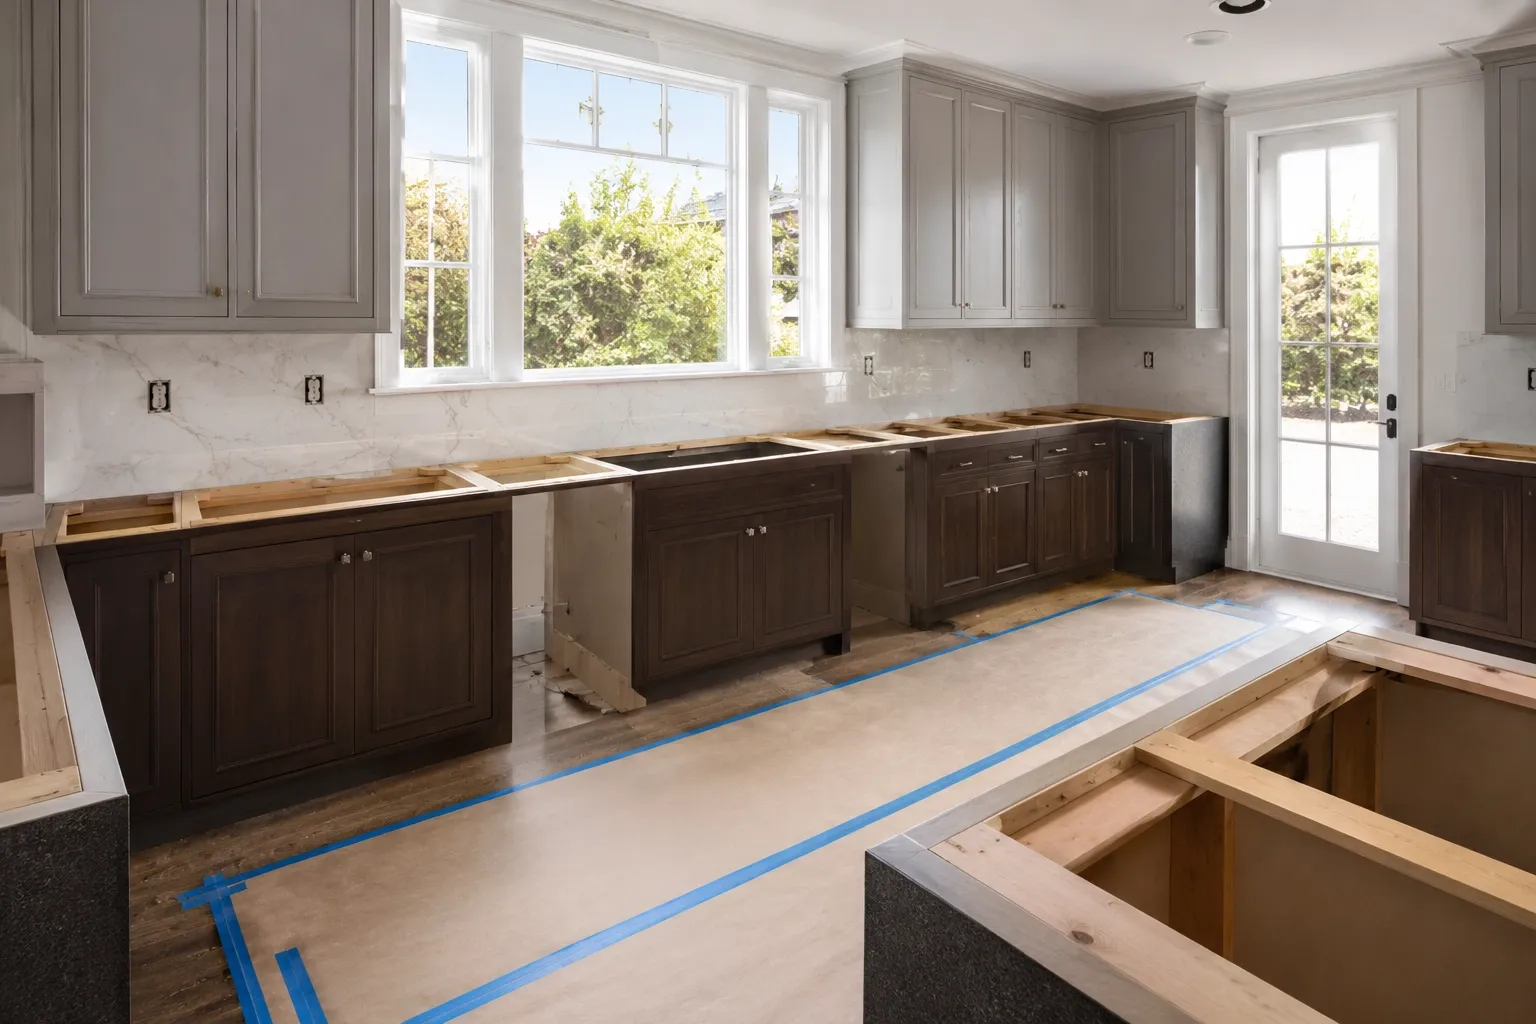
Prepare Plumbing and Appliances
Certain plumbing fixtures and appliances may require attention before countertop installation begins. Confirm these details with your installer ahead of time so everything is ready when the installation team arrives.
- Disconnect Plumbing Fixtures if Required
Sinks, faucets, garbage disposals, and water filtration systems may need to be disconnected before the existing countertops are removed. In many cases, a licensed plumber will reconnect these fixtures after the new countertops have been installed. - Remove Existing Appliances Around the Countertop Area
Cooktops, slide-in ranges, and other built-in appliances may need to be removed before installation. If electrical or gas connections are involved, always follow the manufacturer's recommendations or work with a qualified professional. - Know Which Utilities May Need to Be Turned Off
Depending on your project, water, electricity, or gas may be temporarily shut off during installation. Planning ahead allows you to prepare meals, protect refrigerated food if necessary, and minimize disruptions while the work is underway.
What to Expect During the Countertop Installation Process
Knowing what happens on countertop installation day can help you feel more prepared and confident throughout the project.
Removing the Existing Countertops
The installation team begins by carefully removing your existing countertops while protecting the surrounding cabinets whenever possible.
Depending on how the old countertops were installed, they may be secured with adhesives, screws, or brackets that require careful removal. Some dust and noise are expected during this stage, so keeping children and pets away from the work area is recommended.
Once the old countertops have been removed, installers inspect the cabinets to confirm they are level, stable, and ready to support the new surface.
Positioning and Securing the New Countertops
After the cabinets have been inspected, the new countertop sections are carefully brought into the kitchen.
Each piece is dry-fitted before being permanently secured to ensure proper alignment, accurate overhangs, and clean seam placement. Because every slab is fabricated specifically for your kitchen, careful positioning is essential to achieving a precise, professional finish.
Sink, Cooktop, and Seam Adjustments
Once the countertops are in position, installers complete the final adjustments needed for a secure and polished installation. Sink and cooktop openings are checked to ensure they align correctly, while seams are inspected to create the most consistent appearance possible.
Although modern fabrication techniques produce precise cuts, minor on-site adjustments may be necessary to achieve the best fit. Installers also verify that the countertop sits evenly across the cabinets and that all edges are properly supported.
At this stage, adhesive is applied where needed, and any visible joints are finished to blend naturally with the surrounding surface.
Final Inspection and Cleanup
Before the installation team leaves, they perform a final inspection of the completed work.
This includes checking countertop alignment, confirming that seams are secure, inspecting cutouts, and ensuring the overall installation meets quality standards. Protective materials are removed, and the workspace is cleaned so you can begin preparing for the final plumbing reconnections.
If you notice any concerns during the walkthrough, discuss them with your installer before the project is signed off. Addressing questions immediately helps ensure complete satisfaction with the finished result.
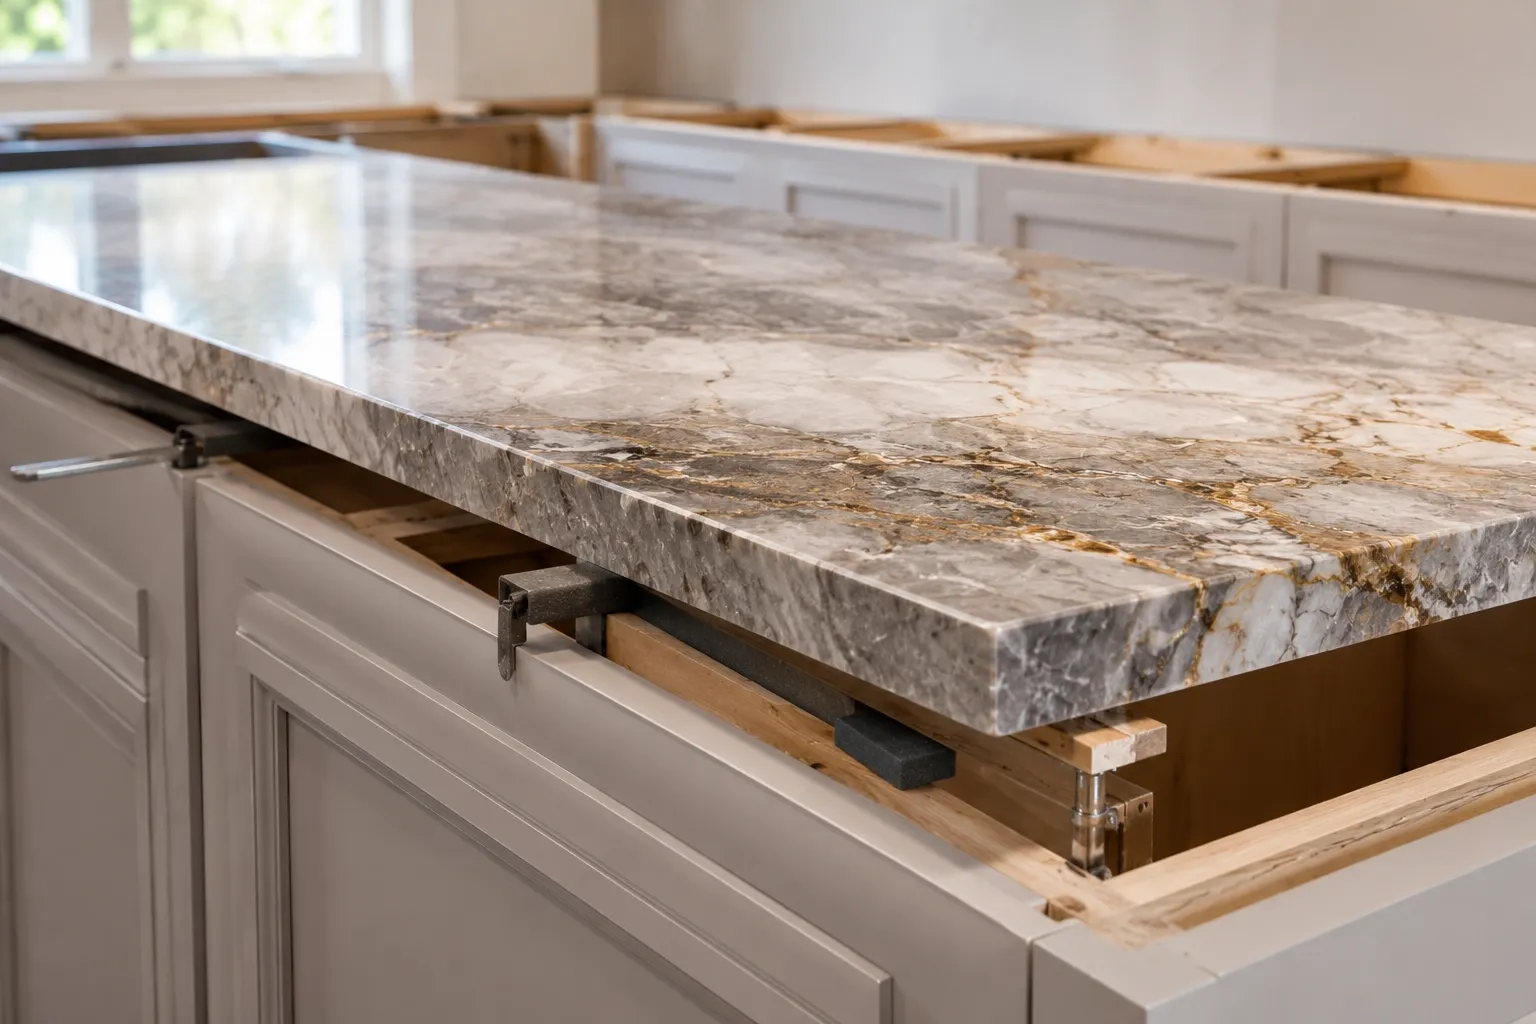
How Long Does Kitchen Countertop Installation Take?
One of the most common questions homeowners ask is, "How long does countertop installation take?"
The answer depends on several factors, including the size of your kitchen, the number of countertop sections, material type, edge details, sink cutouts, and whether the existing countertops must be removed first.
In many homes, the physical installation can often be completed within a single day. Larger kitchens, custom layouts, waterfall edges, or multiple seam locations may require additional time.
The overall countertop installation timeline usually includes:
Stage | What Happens |
|---|---|
Templating | Final measurements are taken before fabrication. |
Fabrication | Countertops are cut, polished, and finished to specification. |
Installation | Existing countertops are removed, and new surfaces are installed. |
Plumbing Reconnection | Sinks, faucets, and disposals are reconnected after installation. |
Planning each phase carefully helps reduce delays and keeps the project moving smoothly.
Mistakes to Avoid Before Your Countertop Installation Appointment
Even well-planned renovations can experience unnecessary delays if a few simple preparations are overlooked. Avoiding these common mistakes helps your installation team work more efficiently and protects your investment.
- Leaving the Workspace Cluttered
Countertop installers need room to safely carry and position heavy slabs. Leaving appliances, decorations, or furniture in the work area can slow the installation process and increase the risk of accidental damage. - Scheduling Other Home Projects at the Same Time
Painting, flooring installation, cabinet work, and countertop installation all require space. Completing multiple trades simultaneously often creates unnecessary congestion and may delay everyone's progress. Whenever possible, schedule countertop installation after cabinets are fully installed and before final plumbing and finishing touches. - Using the Countertops Before They Are Ready
Even after installation appears complete, adhesives, sealants, or plumbing connections may still require time before the countertops are ready for normal use. Following your installer's recommendations helps prevent unnecessary stress on the newly installed surface.
Caring for Your New Countertops After Installation
Proper care begins as soon as your countertop installation is complete. Developing good maintenance habits from the beginning helps preserve the appearance of your investment for years to come.
Follow Curing and Sealing Recommendations
Some countertop materials require sealing, while others do not. Your installer will explain whether your specific surface needs an initial sealer or future maintenance.
Following the recommended curing period before placing heavy appliances or exposing the surface to excessive moisture allows adhesives and sealants to perform as intended.
Establishing a consistent natural stone care and maintenance routine also helps protect the finish, minimize everyday wear, and keep your countertops looking their best over time.
Clean the Surface the Right Way
Daily cleaning doesn't have to be complicated.
For most countertops, a soft microfiber cloth, warm water, and a pH-neutral cleaner are all that's needed to remove everyday dirt and spills. Harsh chemicals, abrasive pads, and acidic cleaners should be avoided unless they are specifically recommended for your countertop material.
Cleaning spills promptly is especially important for natural stone surfaces, helping reduce the chance of staining or etching.
Protect Your Investment for Long-Term Performance
Simple habits can significantly extend the life of your new countertops.
To help maintain their appearance:
- Use cutting boards instead of cutting directly on the surface.
- Place hot cookware on trivets or heat-resistant pads.
- Wipe up spills as soon as possible.
- Avoid placing excessive weight on unsupported overhangs.
- Follow the maintenance recommendations provided by your installer.
Consistent care keeps your countertops looking beautiful while protecting the craftsmanship that went into their fabrication and installation.
Conclusion
Preparing your kitchen before countertop installation helps the process go more smoothly and reduces the chance of unnecessary delays or damage. By clearing the workspace, planning for plumbing and appliances, and following your installer's recommendations, you'll be ready for a successful installation.
If you're planning a kitchen countertop project, Bay Stone Depot can help you select the right surface and ensure a professional installation. Contact our team to schedule a consultation and get started.